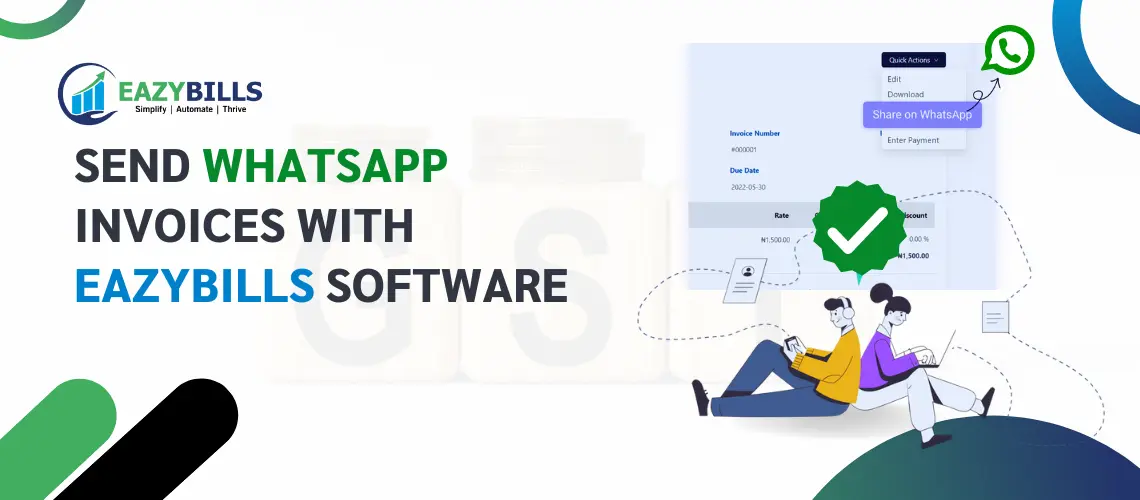
How to create and send WhatsApp Invoices with Eazybills Software?
- Juhi Verma
- August 19, 2023
- Whatsapp Invoicing
- 0 Comments
EazyBills software with WhatsApp can significantly improve your invoicing process, making it more efficient and user-friendly. Creating and sending WhatsApp invoices can streamline your billing process and enhance client communication. Designed to help you generate and manage invoices efficiently, and when integrated with WhatsApp, it can make the WhatsApp invoicing process even smoother.
It has become easier to simplify the invoicing process with WhatsApp Invoicing! Yes, you can send invoices directly through WhatsApp and seamlessly handle transactions. So, experience efficient invoicing like never before. – all within the convenience of WhatsApp.
In this blog, we’ll help you understand the steps to create and send WhatsApp invoices using EazyBills. Let’s begin:
Setup Your Account:
Create an account or log in if you already have one. Set up your business profile, including your company name, logo, contact information, and payment details.
Create Invoice Template:
Designing an invoice template representing your brand is necessary before sending WhatsApp invoices. Our software provides customizable templates you can personalize with your logo, colors, and layout.
Enter Invoice Details:
Once your invoice template is ready, start creating a new invoice. Enter the essential details, including client information, invoice number, due date, products/services provided, quantities, rates, and applicable taxes.
Calculate Totals and Taxes:
Our software automatically calculates subtotals, taxes, and totals based on your entered information. Double-check the calculations to ensure accuracy.
Add Payment Options:
Provide your preferred payment methods on the invoice, such as bank transfer, PayPal, credit card, or other options you offer, and include all relevant details for smooth transactions.
Review and Approve:
Before sending the invoice, carefully review all the details to avoid errors. Ensure the invoice is complete, accurate, and meets your branding standards.
Generate PDF Invoice:
Once you’re satisfied with the invoice, generate a PDF version. This PDF will serve as the official invoice document.
Link WhatsApp Business Account:
To send a WhatsApp invoicing, you need a WhatsApp Business account. If you don’t have one, create and verify it according to WhatsApp’s guidelines.
Sending WhatsApp Invoices:
Open the software, and select the WhatsApp invoice you want to ship. Selecting the recipient’s contact from your WhatsApp Business account will prompt you to:
- Add a personalized message to accompany the invoice. It could be a polite request for payment or any additional information your client needs.
- Attach the generated PDF invoice to the WhatsApp message.
- Review the message and attachment to ensure everything is correct.
- Send a WhatsApp message.
Follow-Up and Payment:
After sending the invoice, please keep track of its status within it. You can see the status of the invoice, whether viewed, downloaded, or paid. Follow up with your client as needed to ensure timely payment.
Record Payment:
Once you receive payment, record it to keep your financial records current. Mark the invoice as paid and note the payment date and method.
Conclusion:
By following these steps with Eazybills billing software, you can seamlessly create and send invoices through WhatsApp, enhancing your communication with clients and facilitating prompt payments. Remember to maintain professionalism in your contact and provide excellent customer service throughout the invoicing and payment process.


